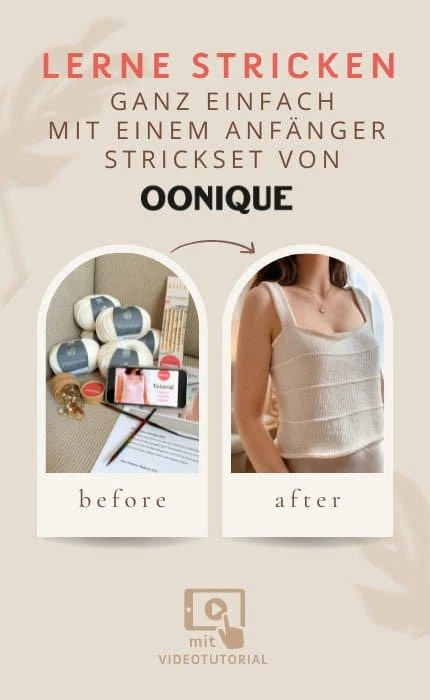

YOUR KNITTING JOURNEY STARTS HERE
Learn to knit with OONIQUE
Knit with leisure and patience. Knitting is a process and a form of meditation. Be mindful and embark on your own personal knitting journey.
cast on stitches
The simple cast-on
TUTORIAL
Cast on stitches
Tutorial – Casting on stitches made easy
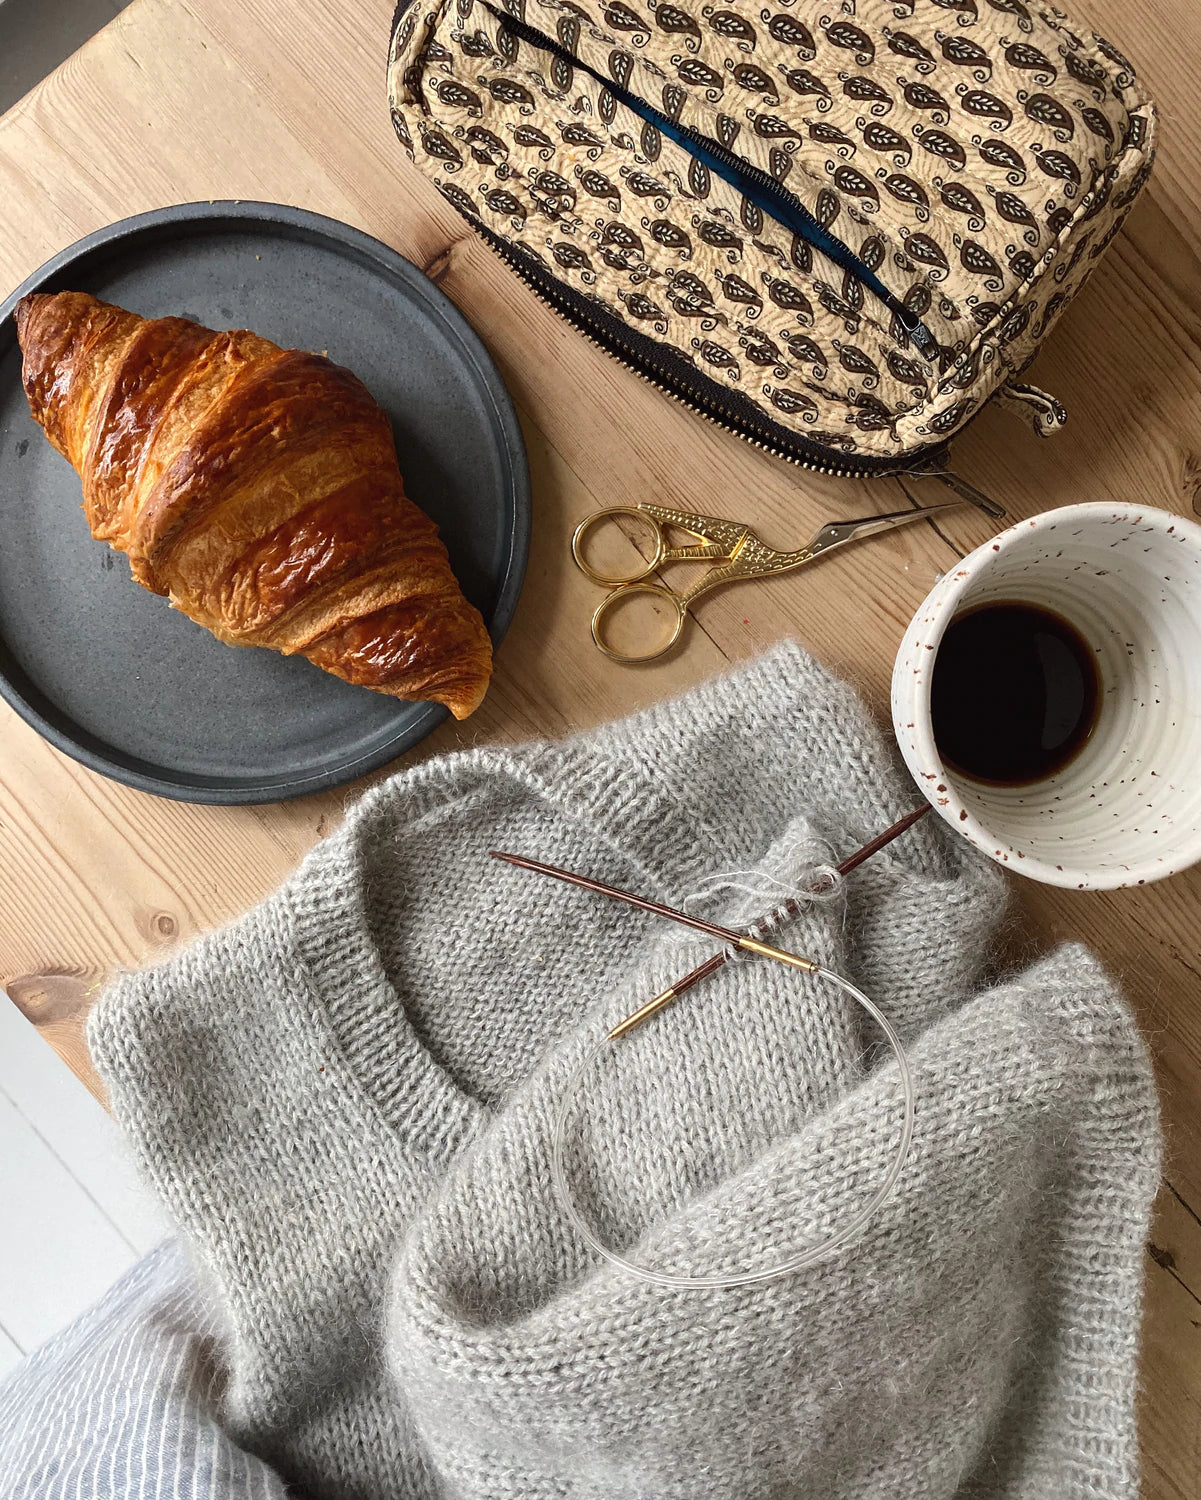
Knitting is trending. Wool is one of the most pleasant materials and can be used in a variety of ways. To help you easily get started with knitting as a beginner, we recommend our tutorials. You'll find everything you need to get started in our well-stocked knitting shop.
Tips for your first knitting attempts
Whether you vaguely remember your first knitting attempts at school or have never even held knitting needles before, our tutorials will teach you how to knit step by step. The foundation, of course, is casting on the stitches.
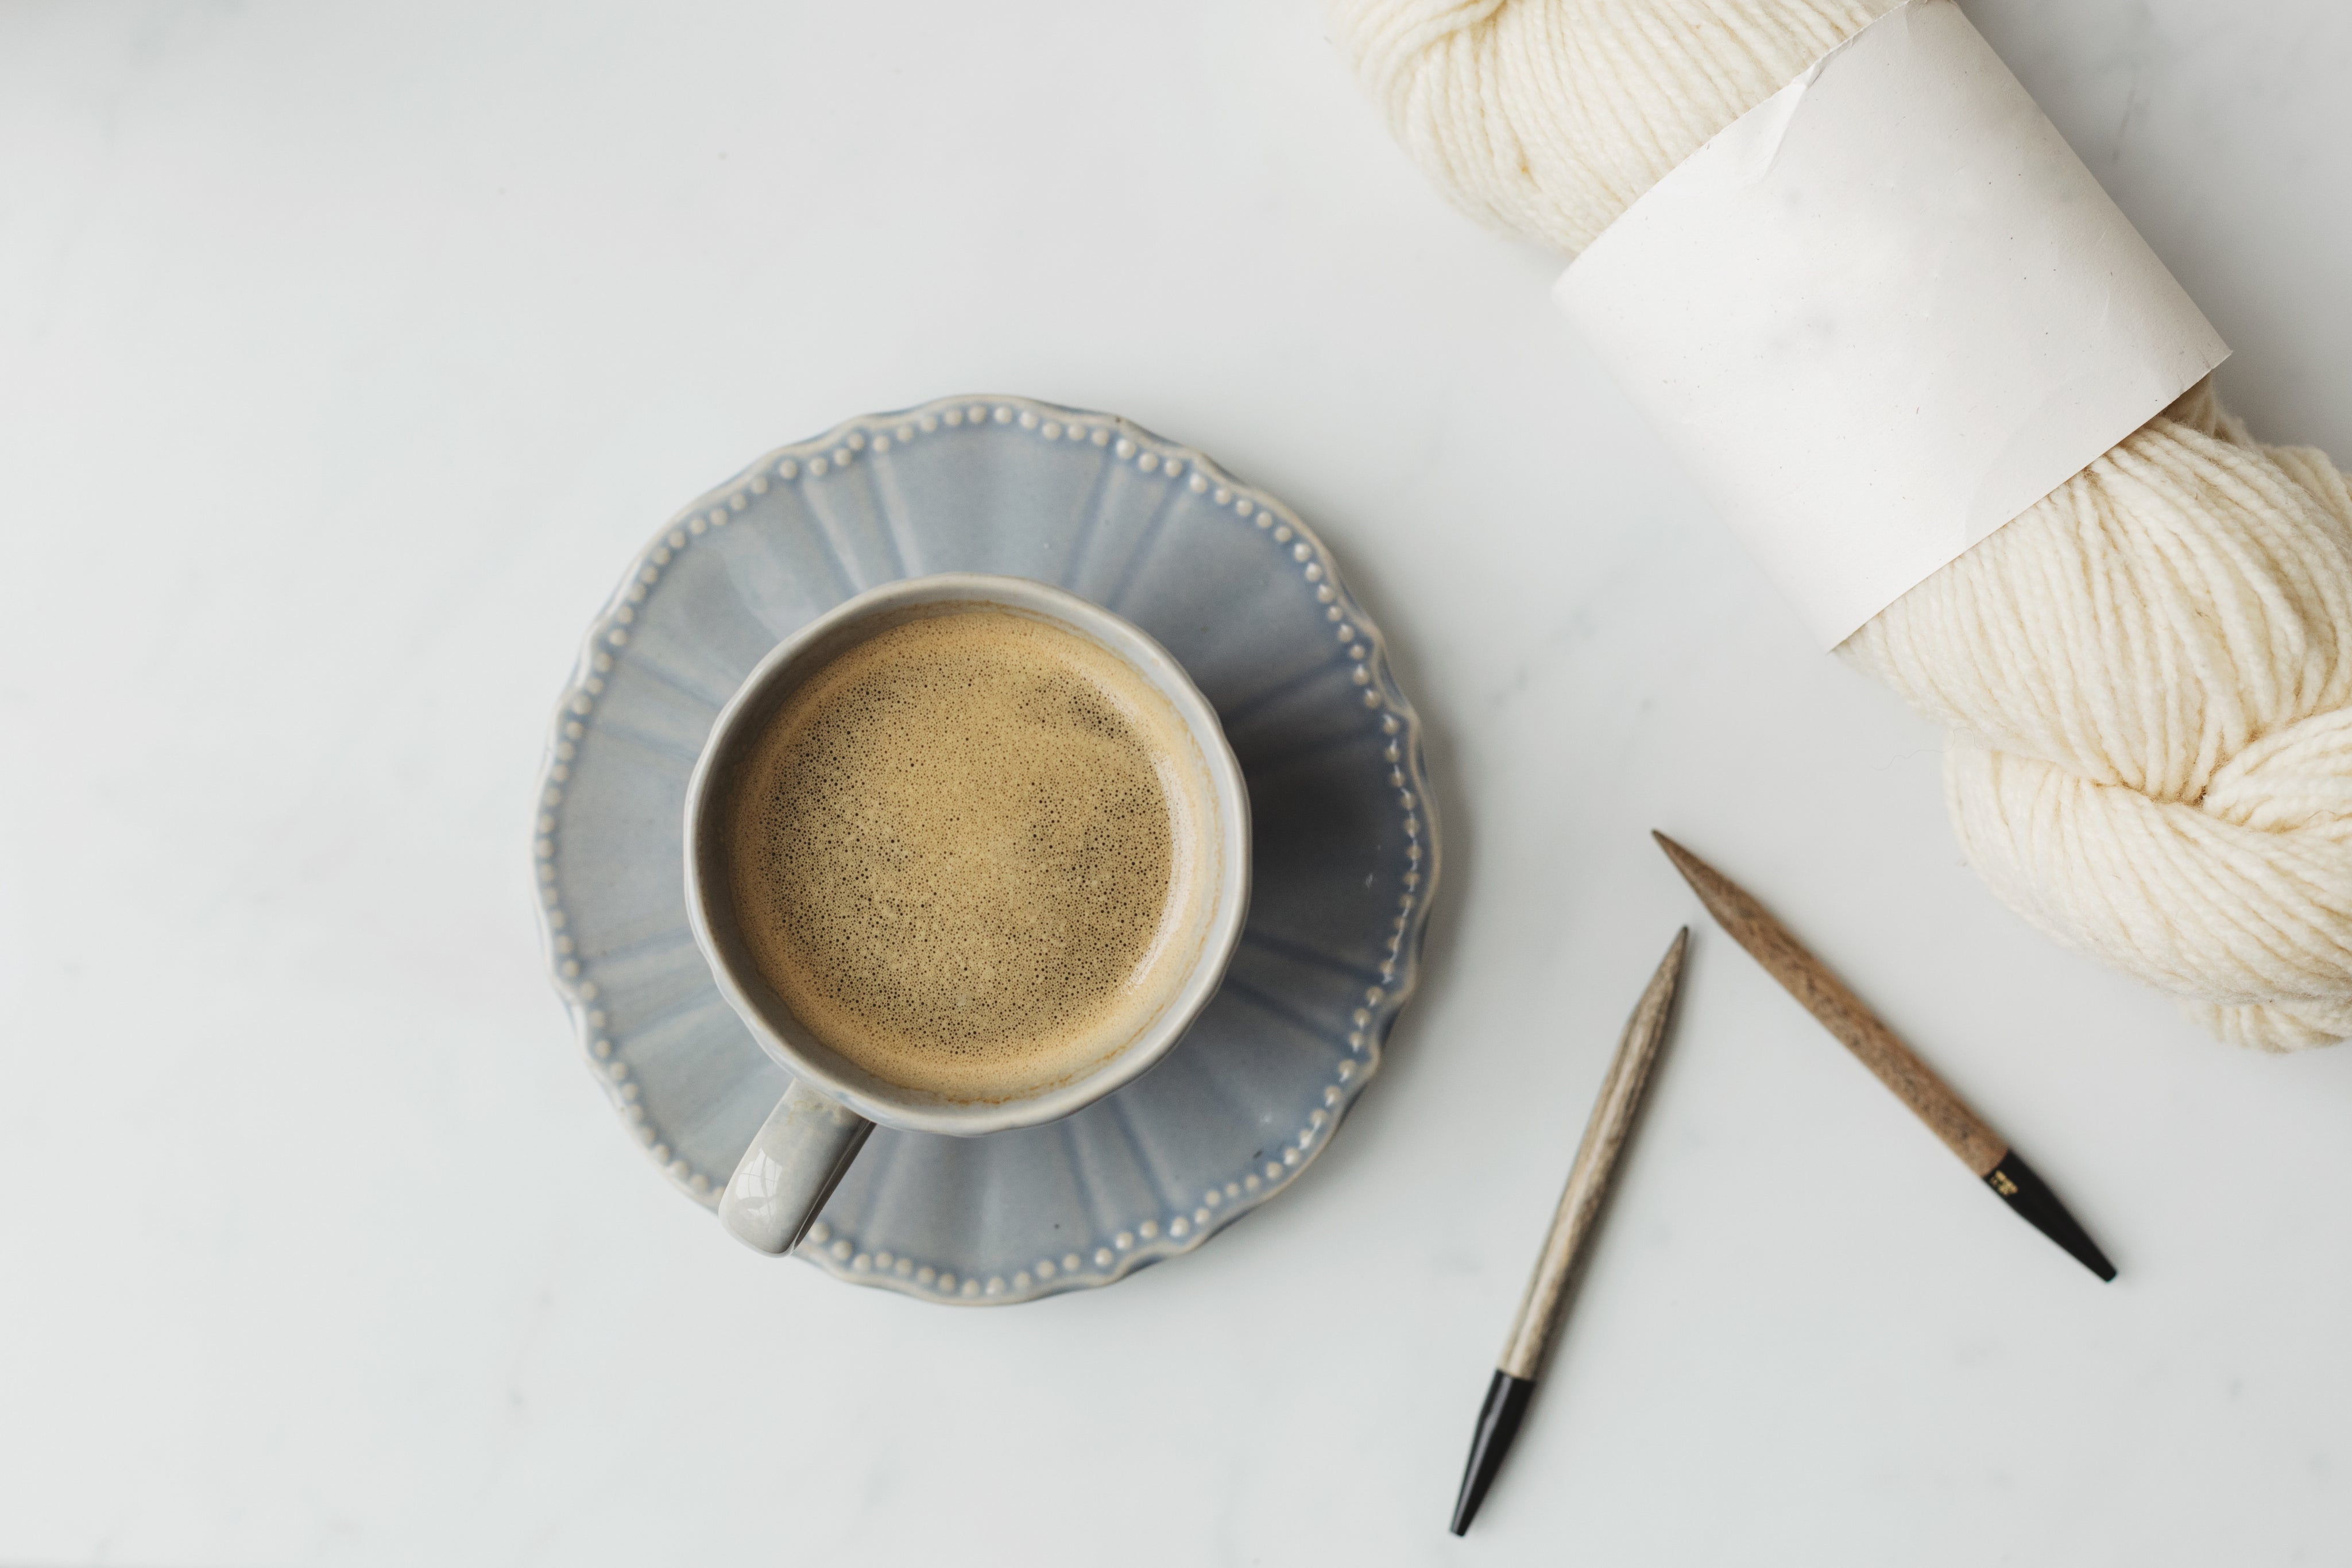
Before you can begin your first knitting lesson, you should have the right materials on hand. But don't worry, to get started, a high-quality yarn (in a light color) and a circular knitting needle are all you need. It's always important that the needle size matches the yarn you've chosen. For your first knitting attempts, select a high-quality yarn that's designed for use with 3.5 mm, 4 mm, 4.5 mm, or 5 mm needles. We recommend choosing a high-quality circular knitting needle to start with. You can choose between wooden or stainless steel tips. Stainless steel needles are particularly well-suited for beginners because the gently tapered tip makes it easy to cast on stitches.
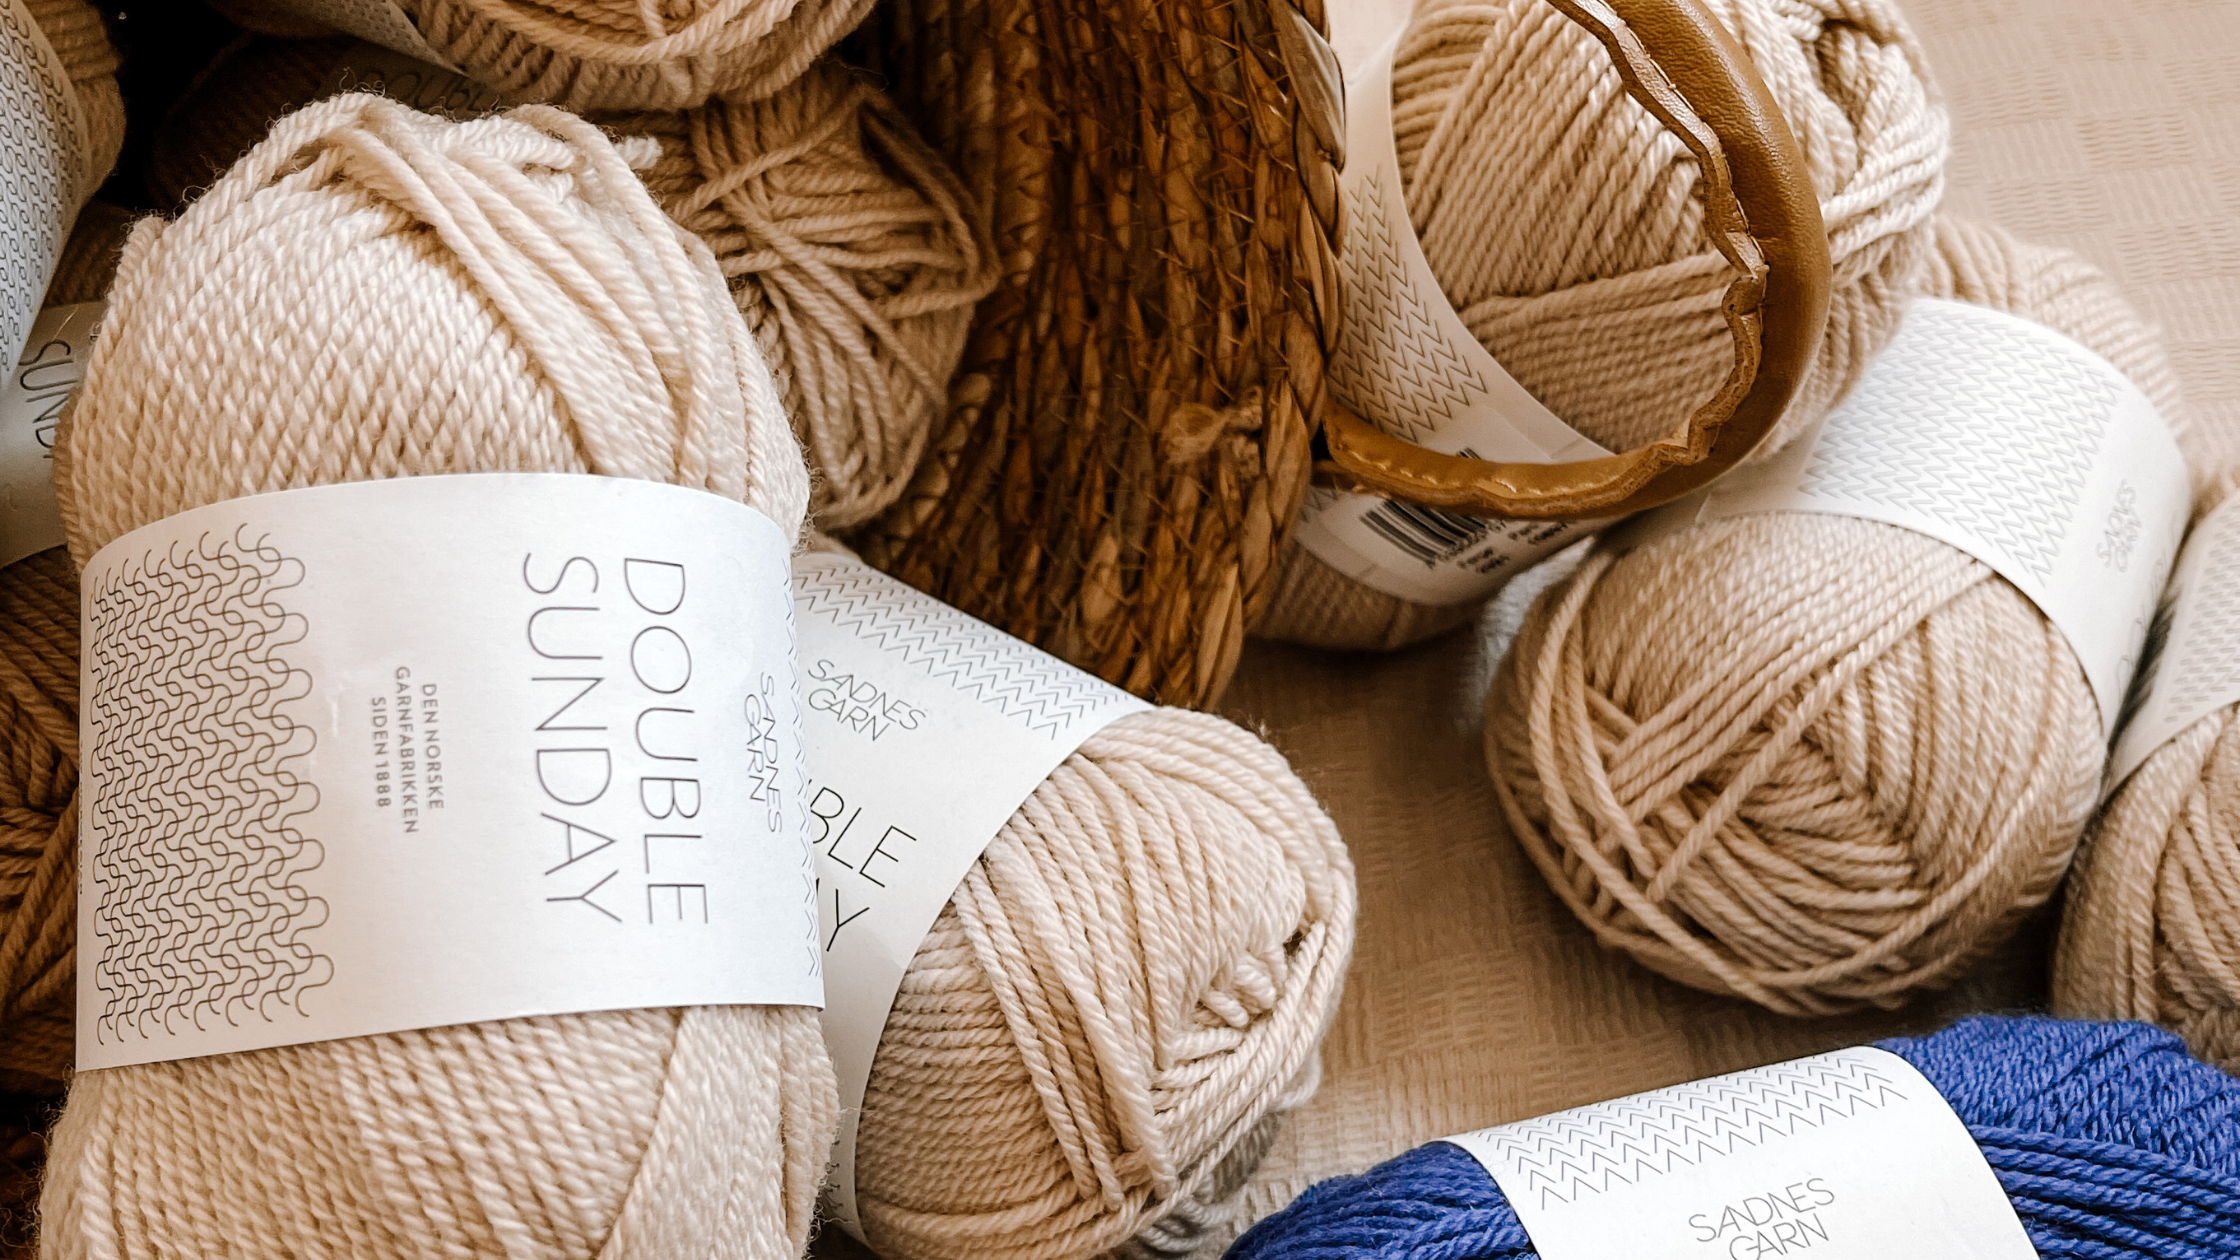
You can easily order suitable yarns and knitting needles online. It's important to use high-quality materials from the start, as yarn of a higher quality has significantly better drape. You shouldn't compromise on the knitting needles either; opt for high-quality needles with stainless steel tips. We recommend starting with circular knitting needles with a short cable.
Once you have the right needles and yarn, you can start with our tutorial and cast on your first stitches. You should practice casting on several times to get a feel for how loosely or tightly you need to work so that the stitches form an even pattern and glide smoothly over the needle.
How to cast on stitches
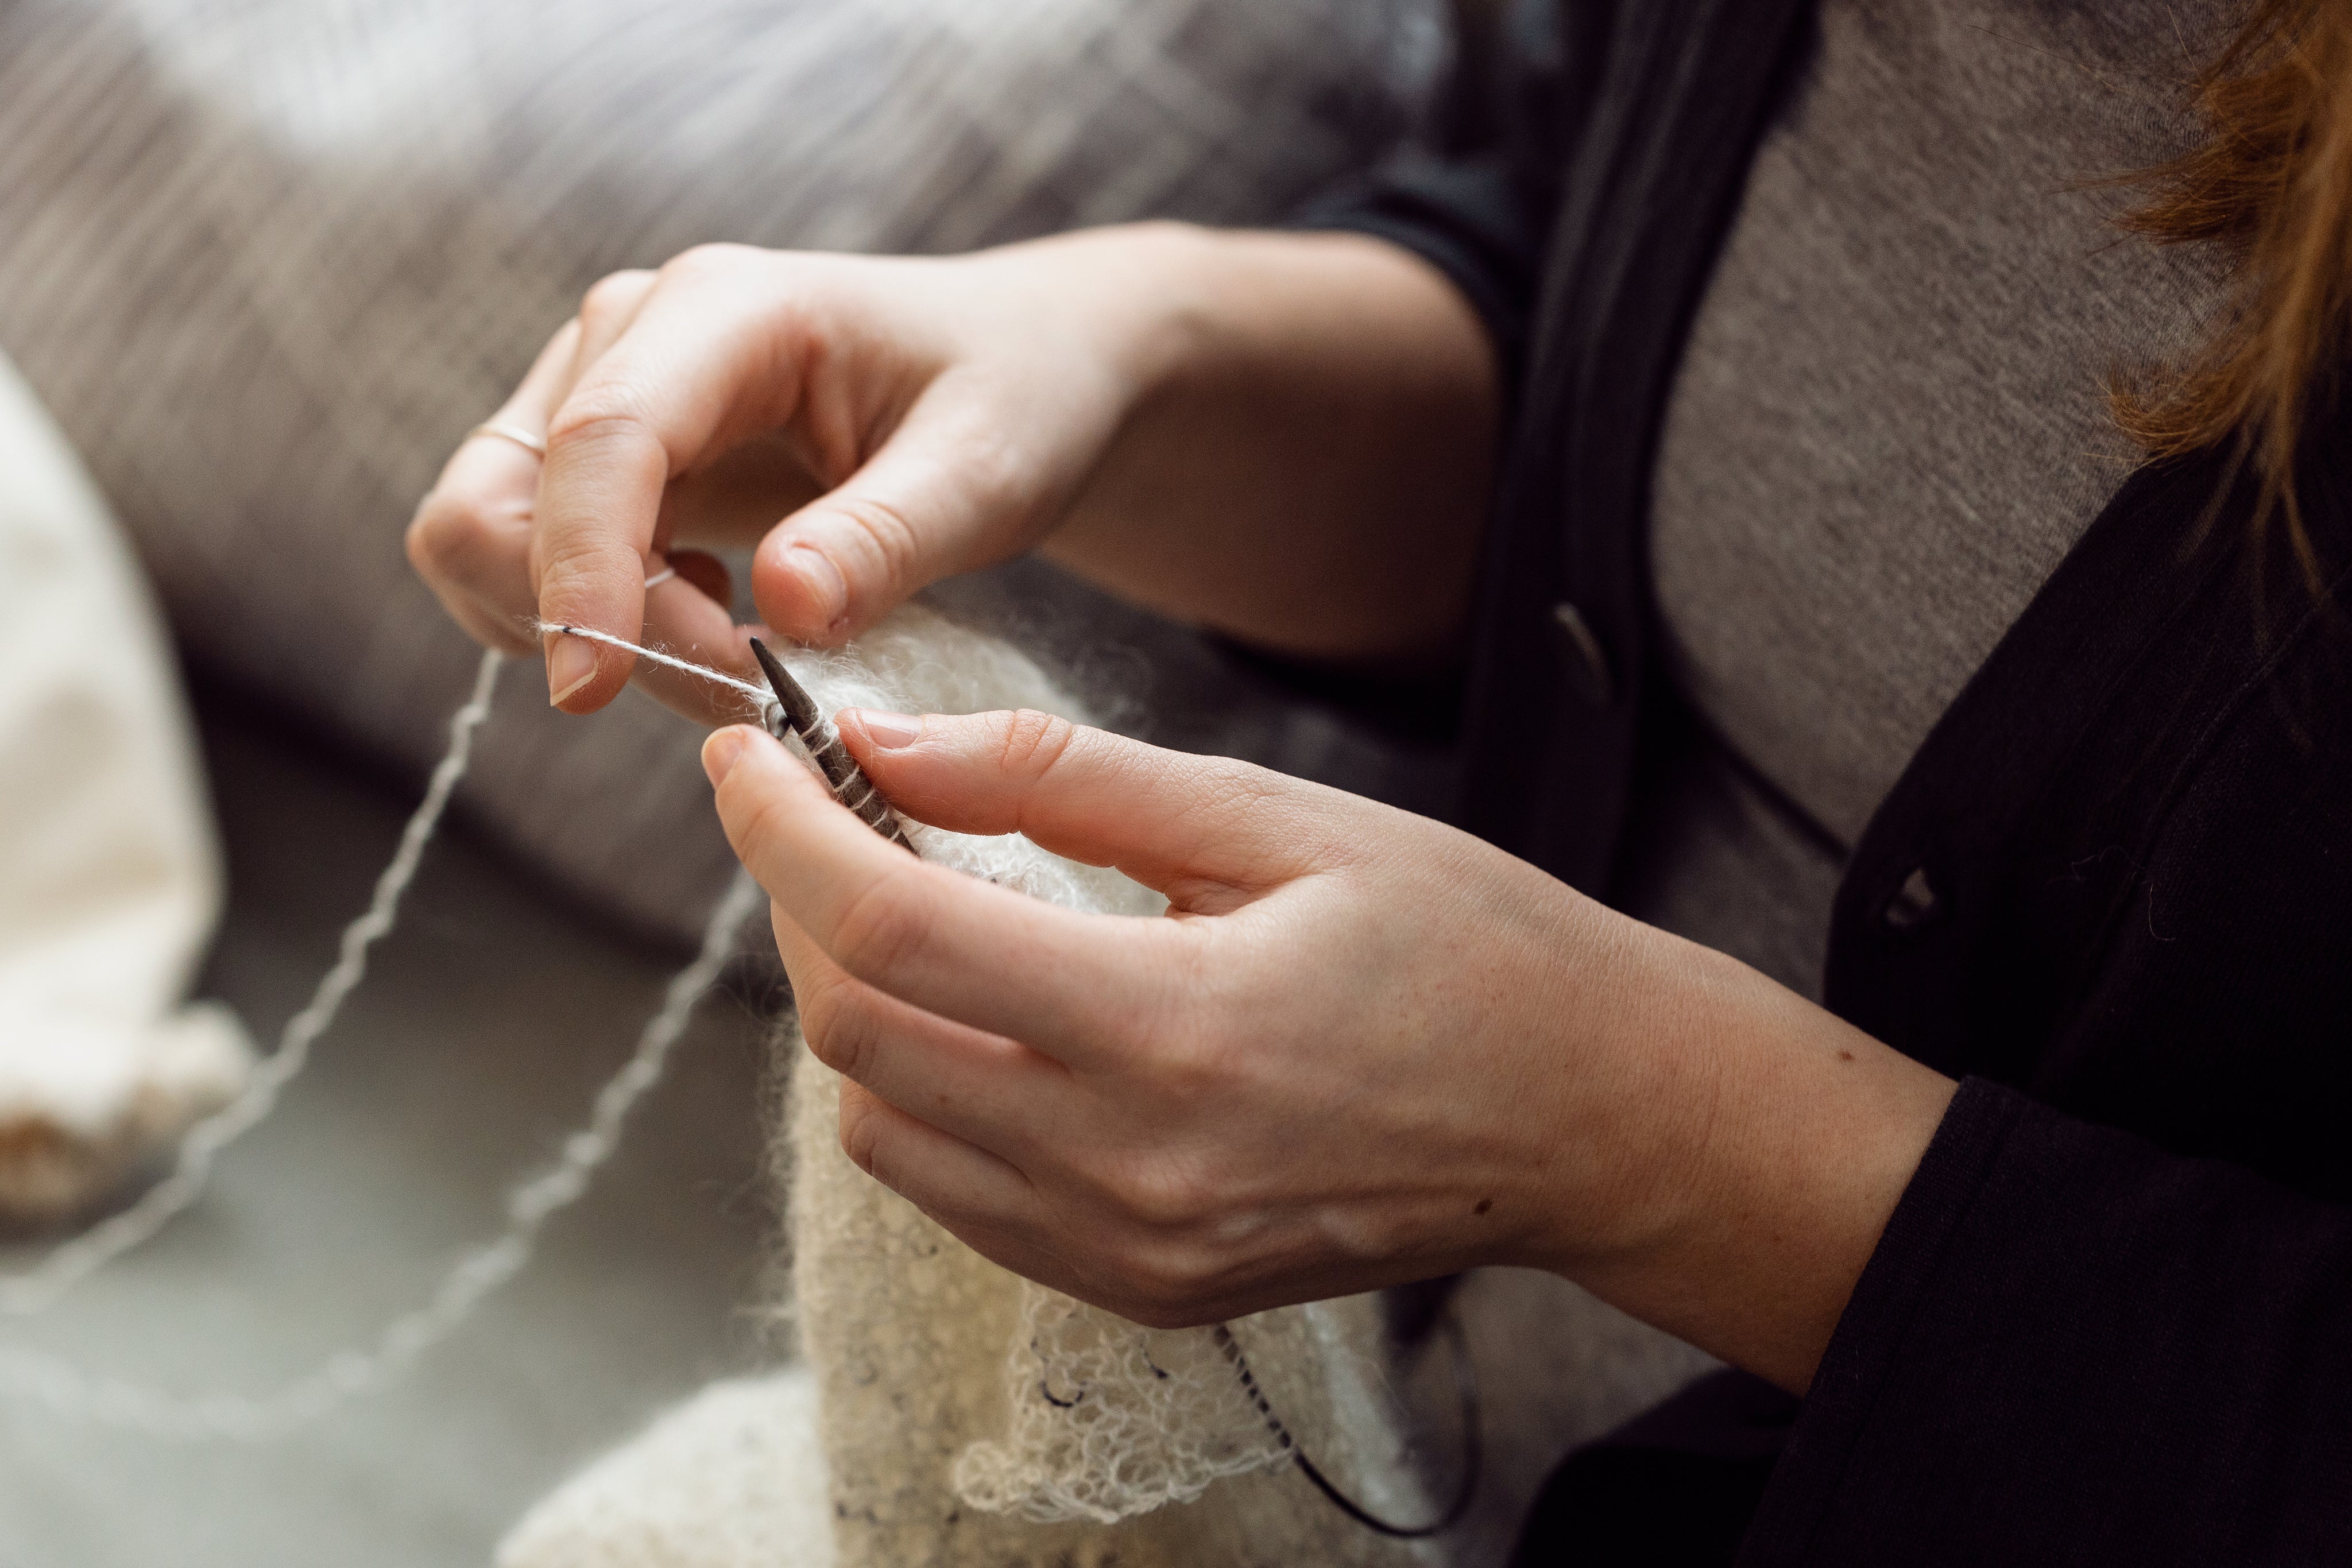
For the cast-on, take a length of yarn and unwind it. Then, fold the yarn over itself to create a loop. Hold the yarn together with your right hand while holding the loop with your left. Insert your thumb and forefinger into the loop from above, still holding the yarn with your right hand. Then, twist your thumb and forefinger upwards so that the yarn wraps around each finger individually. Use the remaining fingers of your left hand to hold the yarn in the palm of your hand, freeing your right hand.
Now, grasp the knitting needle with your right hand. Insert the needle tip from below into the loop of yarn that has formed around the thumb of your left hand. Then, bring the needle to the loop around your index finger and insert the needle from above into the loop, pulling the yarn through the loop formed between your thumb and index finger. You now have a loop around the knitting needle. With your left hand, grasp the yarn below the loop and then bring your thumb and index finger through the two strands, so that they, in turn, wrap around your thumb and index finger. This will automatically tighten the first stitch on the needle. Make sure the stitch isn't too loose. It should fit snugly against the needle but still be able to move easily. If the stitch is too loose, you can simply tighten the two strands that have wrapped around your fingers.
To cast on the next stitches, insert the needle from below into the loop that forms around your thumb. Then, bring the needle tip behind the yarn that is wrapped around your index finger and pass it through the loop between your thumb and index finger. Repeat this process until you have reached the desired number of stitches.
With our video on "Casting On," even complete beginners will find it easy to learn to knit. As you can see in the video, the cable of the circular knitting needle isn't important for casting on; the focus is on the needle tip. Therefore, high-quality needle tips are essential right from the start. As you can see in the video, we also opted for stainless steel needle tips. These are not only particularly well-suited for beginners, but also for anyone who prefers a tighter, rather than loose, stitch.
We wish you lots of fun and success with your knitting. In the next step, you'll learn how to knit knit stitches. By the way, you can conveniently slide your cast-on stitches onto the needle cable, ensuring they don't slip off the needle tip when you take a break. The needle tips and cable of the circular knitting needle will become extremely important for your future knitting projects and will make knitting easier for beginners.
Right stitch
Knit in stockinette stitch.
TUTORIAL
Right stitch
Knitting knit stitches - the basics of knitting
Knitting knit stitches is easy, even for beginners. Our tutorial "Knitting Knit Stitches" will make it easier for you to get started and you'll quickly see your first successes.
Preparation for the tutorial "knit stitches"
Before you can start knitting knit stitches, it's important to master the cast-on. If you have no prior experience with knitting and haven't yet seen our " Casting On " tutorial, we recommend watching it first and practicing the cast-on.
In our OONIQUE shop, we have all the materials you need for your first knitting attempts. For your first knitting projects, you only need a circular knitting needle, consisting of needle tips and a cable. You should choose a circular knitting needle with a short cable and stainless steel tips, as this will make your first attempts easier. You should also choose a light-colored yarn of good quality. Light colors are important because they make it easier to see the stitches and check the stitch pattern.
We know you're already looking forward to your first knitting projects. However, you should first practice the basics of knitting. The basics include: casting on, knit and purl stitches. Once you've mastered these basics, you'll learn step by step how to bind off, increase and decrease stitches, and much more. For your first larger projects, we recommend our knitting kits for beginners , which include the necessary yarn and beginner-friendly instructions.
Right stitches made easy
To begin knitting knit stitches, you should first cast on a few stitches. To ensure you can easily see the stitch pattern later and get into the flow of knitting knit stitches, we recommend casting on approximately 25 to 30 stitches onto the tip of your circular knitting needle.
Now take the needle with the cast-on stitches in your left hand and the empty needle of your circular knitting needle in your right hand. Wrap the yarn around the index finger of your left hand. Hold the circular knitting needle so that the cable is in front of your body and the needle tips are practically facing each other.
Now, starting from the front left, insert the empty needle tip into the first cast-on stitch on the left needle. Pick up the yarn running over your left index finger with the needle and pull it through the stitch. A stitch has now formed on the previously empty right needle tip, as you can see in our tutorial, allowing you to slip the first cast-on stitch off the left needle tip. Congratulations, you have successfully knitted your first knit stitch!
Now, starting from the front left, go into the next stitch on the left needle and pull the yarn through the stitch again. You should now have two stitches on the tip of the needle in your right hand. Repeat this process, so that one stitch after another moves from the left to the right needle of your circular knitting needle. If you want to pause, that's no problem; simply slide the stitches on the needle tips towards the cable, so you don't risk them slipping off.
Once you've knitted all the stitches, you can easily continue. Transfer the needle from your right hand, which now holds all the stitches, to your left hand. Then transfer the empty needle back to your right hand, and you can begin knitting the second row of knit stitches. You can continue like this until you feel comfortable knitting knit stitches easily. Of course, you can also continue knitting this way for as long as you like.
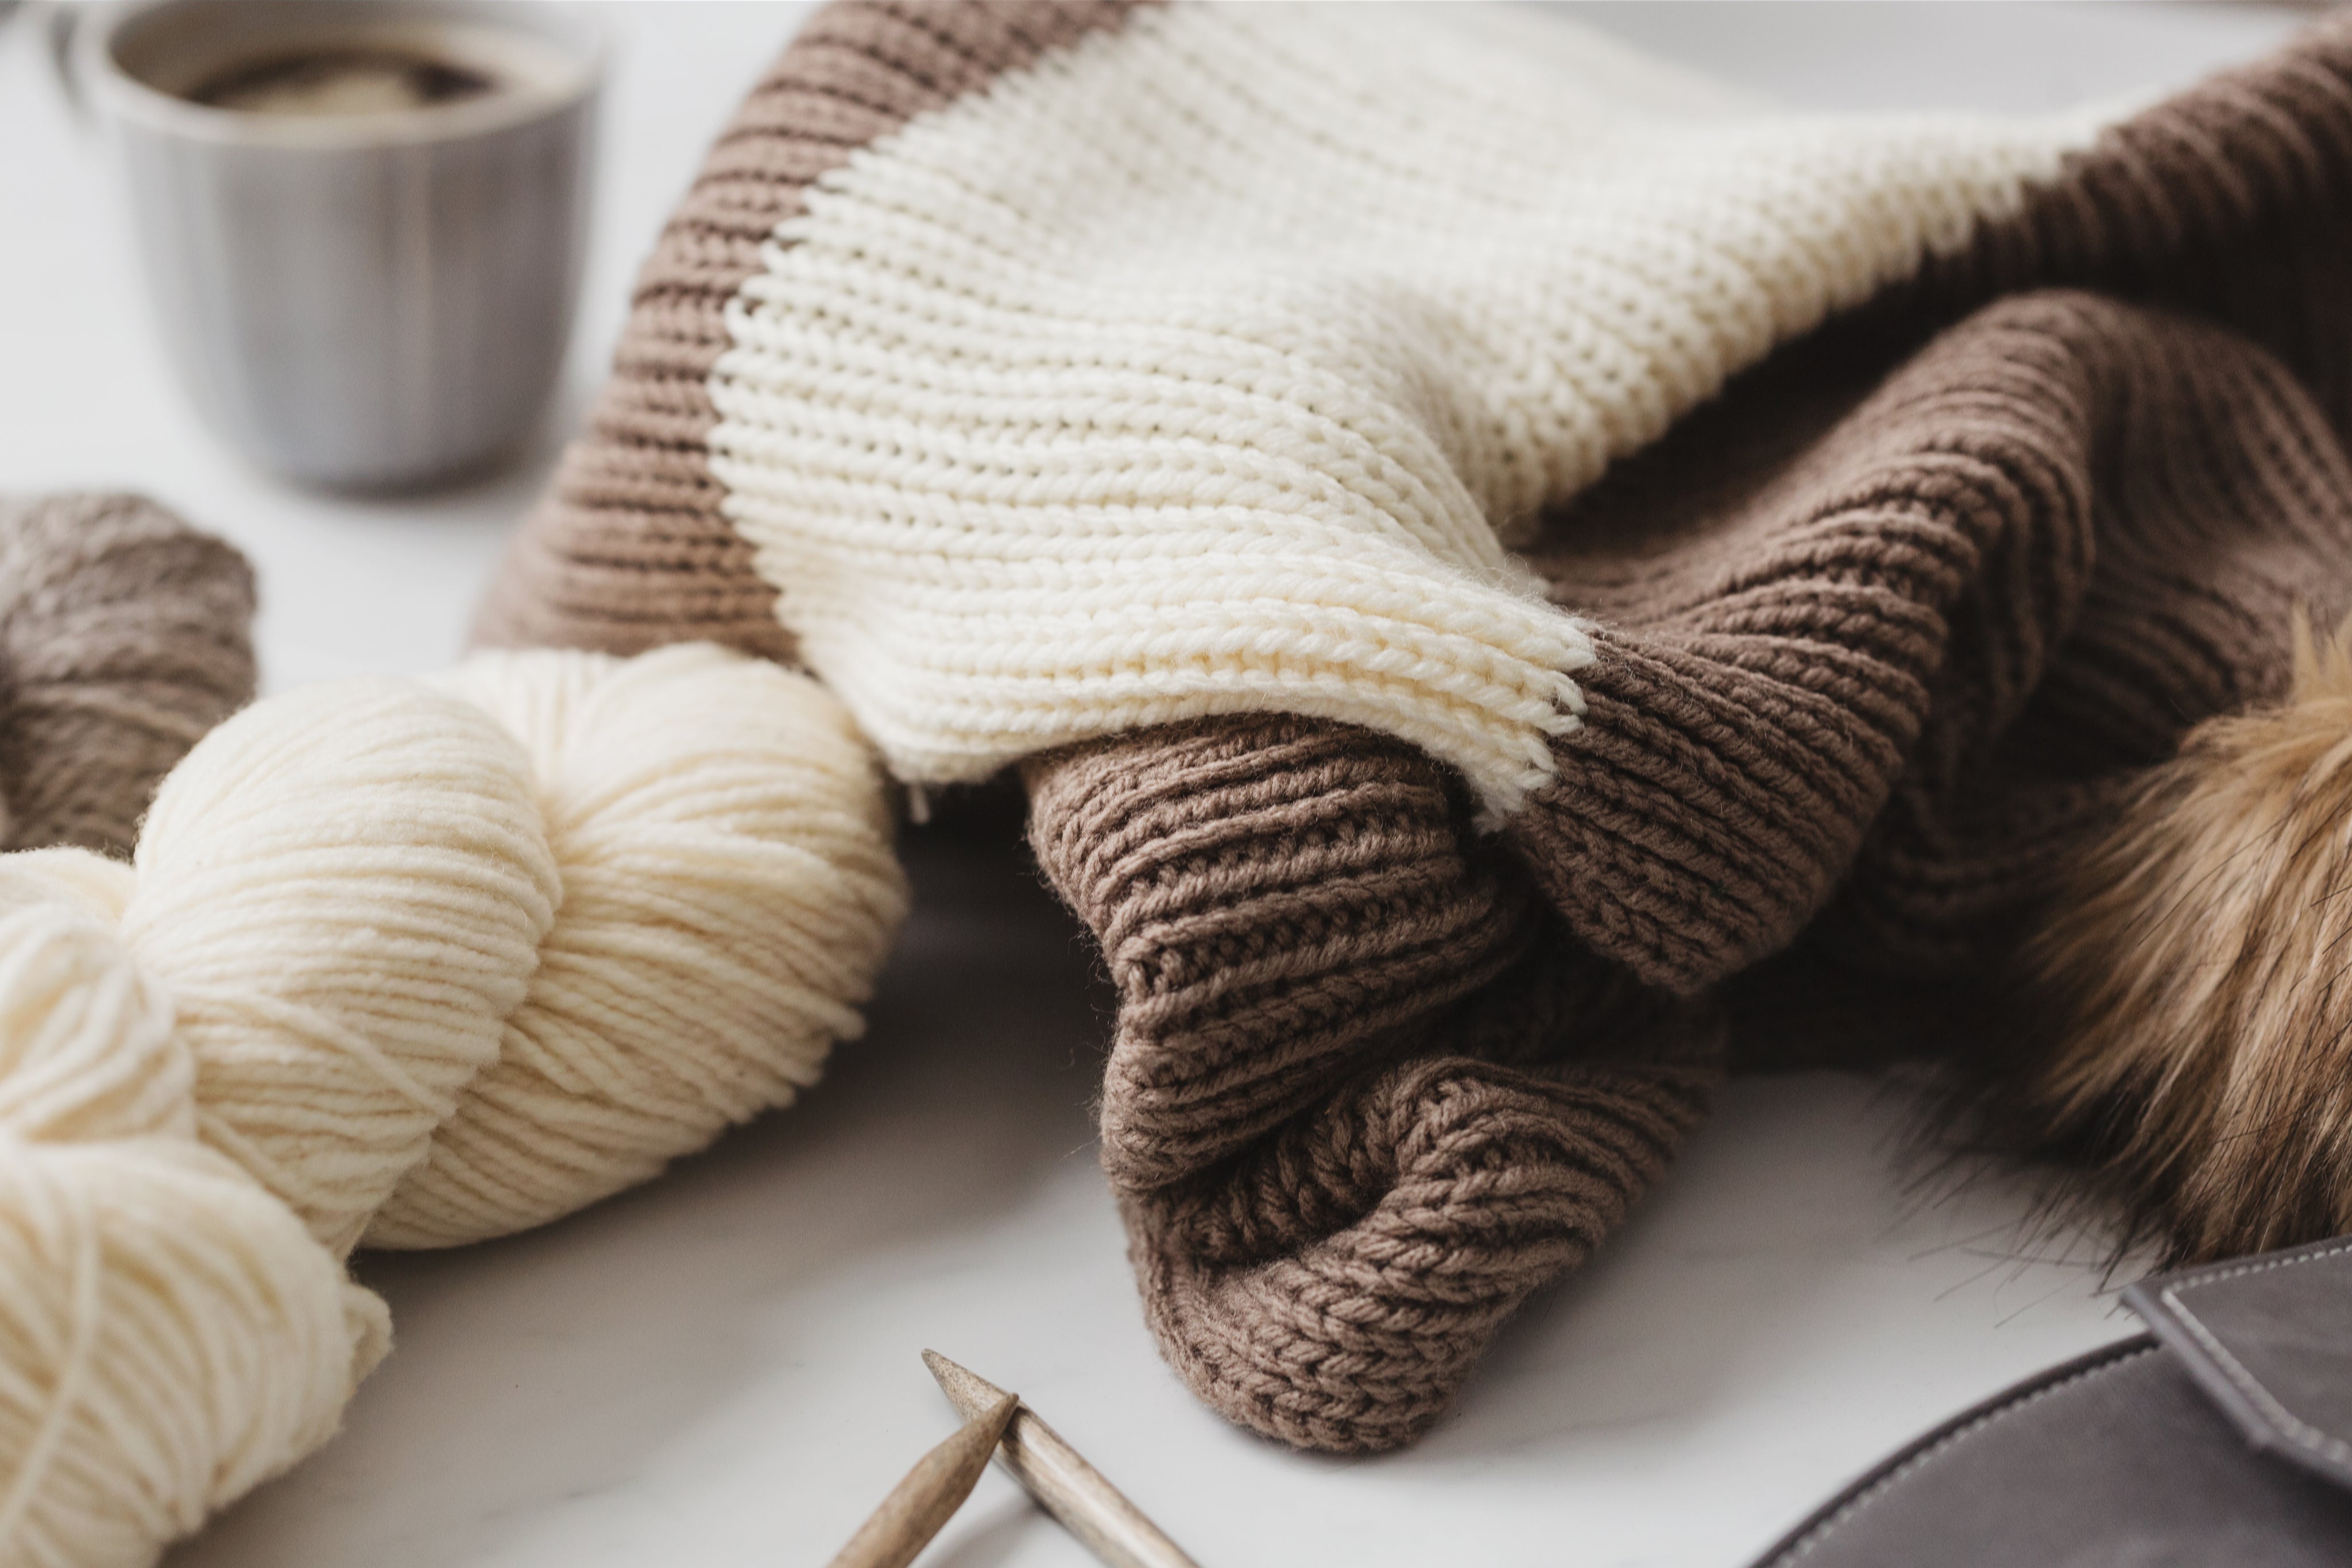
Incidentally, this resulting stitch pattern is called garter stitch. You can use it to knit a scarf, for example, with the same stitch pattern throughout. You can add variety by using yarns in different colors, creating stripes of varying widths in a range of colors. If you want to take a break and continue knitting later,
With your newly acquired knitting skills, consisting of cast-on stitches and knit stitches, you can theoretically already tackle small projects. The next step is to learn purl stitches, thus expanding your range of possibilities. The combination of purl and knit stitches is not only the foundation for stockinette stitch, but also for numerous patterns that all build upon these stitches. You can always return to the video , allowing you to repeat the lesson with the video instructions as often as you like.
We hope you have fun practicing! And if you need more yarn or your motivation starts to wane, visit our shop and plan which of our beginner knitting kits will be your first bigger project. Having a concrete goal often makes it much easier to stick with it and pick up your knitting needles regularly. Motivation is absolutely essential, especially for beginners.

Left stitch
Knit purl stitches
TUTORIAL
Knit purl stitches
Tutorial – knitting purl stitches
Purl stitches are among the basic stitches that beginners should learn before tackling larger knitting projects. With our tutorial on purl stitches, you'll quickly expand your knitting skills to include this stitch. With a little practice, you'll be able to easily slip these stitches over the tips of your circular needles, bringing you one step closer to your first larger knitting project.
Preparation for the tutorial "left stitches"
After gaining some initial knitting experience with our tutorials on "casting on" and "knit stitches," it's time to learn how to knit purl stitches. You'll still only need your circular knitting needles with stainless steel tips and a short cable, as well as a light-colored yarn with good glide.
If you are not yet confident in casting on stitches or knitting knit stitches, or if you haven't yet discovered the two tutorials and would like to start as a beginner, then watch the respective tutorial first before going to the video on the topic of "purl stitches".
You're perfectly prepared if you already have your yarn and circular knitting needles ready, and if casting on and knitting knit stitches are now second nature to you. Of course, it's also important that you find a comfortable place and have the peace and quiet to learn something new.
You should learn the purl stitch, as it allows you to create a smooth, even fabric. If you knit row after row, you'll get a garter stitch pattern, as you've probably already noticed. However, if you alternate between knit and purl rows, you'll create a smooth look, like the kind you see on sweaters, hats, jackets, and other knitted items. You can find great examples in our knitting shop among the beginner knitting kits, which, by the way, include not only the necessary yarn but also a beginner-friendly knitting pattern. Perhaps you'll even find a kit that you'd like to try as your first project; this can give you an extra boost of motivation.
How to knit purl stitches – here's how to do it
Before you can practice purl stitches, you first need to cast on some stitches . It's also recommended to knit a row of knit stitches before starting the purl stitches. If you still have your practice piece for knit stitches on your circular needle, simply slide it off the cable back to the needle tip. Pay attention to where the working yarn is and slide it in that direction from the cable to the needle tip. Then you can knit a row of purl stitches directly onto your knit stitches.
As always, you hold the needle tips in your hands so that the needle cable is in front of you. The needle tips should be facing each other. In your left hand, you hold the knitting needle with the stitches, while the needle in your right hand is empty. The index finger of your left hand continues to guide the yarn.
To knit a purl stitch, bring the working yarn forward under the tip of the left needle. This works particularly well if you also place the index finger of your left hand over or in front of the needle. Now, with the needle in your right hand, insert it into the first stitch from the right front. Move your index finger, which is holding the yarn, upwards so that the yarn is behind the needle in your right hand. Now you can simply pull the yarn through the existing stitch with the needle, and you have knitted the first purl stitch, which is now on the right knitting needle. Repeat this process stitch by stitch until you have finished the row.
After completing the row, you can either practice the newly learned stitch again in the next row or continue with a row of knit stitches, and then purl the next row. This way, you not only practice knitting the new stitch but also refresh your memory of the last exercise. If you choose to alternate between purl and knit rows, you will create a practice piece in stockinette stitch.
If you've mastered the cast-on stitches, as well as knit and purl stitches, then you can look forward to our next tutorial. With our knitting school, including videos, you'll quickly leave beginner status behind. Even if it seems a bit tedious at first, you'll notice that with each day you pick up your knitting needles , you'll become more confident. It will become increasingly easier to knit the stitches you've learned so far. Accordingly, it won't be long before you can tackle your first larger project.
Right-handed interlaced stitches
Knit stitches through back thread
TUTORIAL
Right-handed interlaced stitches
Right-twisted stitches – easy with this tutorial
By now, you should be very familiar with knit stitches. Now you'll learn a new stitch type: the twisted knit stitch. Since many knitting patterns also call for twisted knit stitches, it's worth practicing this stitch as well.
Here's what you should know about the right-hand twisted stitch
For beginners, twisted right-side stitches are relatively easy to learn. But don't be fooled, because this stitch is quite complex. When you knit twisted right-side stitches, the stitch pattern changes. Accordingly, in this tutorial you will learn a stitch that allows you to add accents or incorporate light and subtle patterns into your knitting projects.
You'll appreciate the right-twisted stitch not only during your beginner phase, but you'll also encounter this stitch in many of your future projects. So take your time with the video tutorial and compare the stitch pattern to your previous practice pieces. You'll clearly see the difference if you practice with a light-colored yarn.
As with the previous exercises, you should work with a circular knitting needle with a short cable. We still recommend using knitting needles with stainless steel tips. While circular knitting needles with wooden tips also have their appeal, stainless steel tips are better suited for beginners and knitters who tend to knit relatively tightly.
Before you start the video and knit your first twisted right stitches with the tutorial, find a comfortable and quiet place. Have your circular knitting needles with a short cable ready, along with a light-colored yarn for practice. Yarns , especially for beginners, should have good glide, so you should use a high-quality yarn for this tutorial as well. Once everything is ready, you can either continue knitting with a practice piece already on the cable or cast on a new one. For this, you'll refer back to what you've already learned and begin with the cast-on stitches, followed by several rows of stockinette stitch (alternating one knit row and one purl row). Once you've completed this, you can begin the tutorial.
This is how you can easily make right-hand twisted stitches.
You can practice right-twisted stitches all at once, using the entire number of stitches on your knitting needle for practice. Simply slip the edge stitch from the left to the right needle of your circular needle. In our tutorial, we'll knit the second stitch directly as a right-twisted stitch. Pay close attention to the position of the needle tips in the video.
Insert the right needle from the right back into the stitch on the left needle. Then, pick up the yarn with the needle and simply pull it through the stitch from back to front. You've now knitted your first twisted right stitch. As you can see, it's easier than you think. Now knit the entire row using twisted right stitches. Once you're finished, take a good look at the stitch pattern. You'll notice that the stitches knitted this way create an interesting and very decorative pattern. Especially in larger projects, you can create beautiful effects with very little effort.
You'll also notice that some of our knitting kits for beginners include projects that use twisted right stitches. But after practicing this new stitch a few times, it won't faze you anymore. Incidentally, the different stitches, yarns, and other materials are also perfect for knitting decorative home textiles like blankets, cushion covers, and more. You can find suitable yarns for your own projects at OONIQUE, as well as knitting kits, knitting needles , knitting books, and other supplies.
Knit two stitches together
Learn how to knit two stitches together.
TUTORIAL
Knit two stitches together
Tutorial on decreasing stitches – knitting two stitches together
In this tutorial, we'll explore the topic of "knitting two stitches together." This technique is used to decrease stitches and is just as important for your future knitting projects as increasing stitches. Especially with garments, a good fit is crucial. With skillful increases and decreases, even beginners can tackle sweaters, jackets, and more. You can find suitable knitting kits for beginners in the OONIQUE shop.
Decreasing stitches – practice makes perfect
Decreasing stitches is an important step for beginners who are discovering or rediscovering knitting. Knitting two stitches together is the simplest form of decrease. To make this effortless, you should choose a circular knitting needle with a short cable for your first attempts. Even more importantly, the circular knitting needle should have stainless steel tips. Stainless steel tips are particularly advisable for beginners, but even experienced knitters who knit relatively tightly often opt for circular knitting needles with stainless steel tips.
The yarn you choose is just as important. Not all yarns are equally easy to work with. Therefore, you should always opt for high-quality yarn, even for your first attempts. High-quality yarn, combined with the right knitting needles, makes knitting much easier. Understandably, those who start with inferior yarns and needles usually lose interest in knitting very quickly. To prevent this from happening to you, make sure you use high-quality materials both when practicing and for later projects.
To prepare for the tutorial video on "knitting two stitches together," you can either have your existing practice piece ready or cast on a new one. If you don't have a practice piece on the cable of your circular needles, this is a good opportunity to review the previous lessons. After casting on, knit a few rows of alternating knit and purl stitches before starting the tutorial on decreasing stitches. This way, you can not only practice while you work, but also get back into your knitting rhythm.
Knit two stitches together – this is how to decrease stitches.
As you already know, the needle tip with the stitches rests in your left hand, while you work with the needle tip in your right hand. The needle cable is therefore directly in front of your body. Before knitting the first two stitches together, knit the first three stitches as normal. Now, with the needle tip in your right hand, don't insert it into the first stitch on the needle in your left hand, but into the second stitch. Push the needle tip from the left through both stitches, so that the two needle tips are practically parallel to each other. Then, with the needle tip, pick up the working yarn and pull it through both stitches in one smooth motion. Consequently, only one stitch ends up on the needle in your right hand, and you have one fewer stitch on your knitting needles than before.
As you can see, decreasing stitches is very easy with this method. However, you should always make sure that you have actually inserted the needle tip through both stitches and that the working yarn is also pulled through both stitches at once. After you have knitted two stitches together, you knit a few stitches normally before knitting the next two stitches together.
As a general rule, when decreasing stitches, it's important to distribute the decreases evenly throughout the project and avoid knitting two decreases in quick succession. After decreasing a few times, take the time to knit a few rows normally. This will allow you to better visualize the stitch pattern and identify where you've decreased. As a precaution, slip all stitches onto the cable so you can carefully check the stitch pattern without any stitches slipping off the needles. Also, never decrease stitches at the very beginning or end of a row.
You're probably already looking forward to your first bigger project involving decreases. With our knitting kits for beginners, you're sure to find what you're looking for, and you can be confident that you'll receive not only top-quality yarns but also easy-to-follow knitting instructions. This way, you'll soon be proudly finishing your first garment and slowly leaving the beginner stage behind.
Increase from the transverse thread, slanted to the left
Increase stitches from the horizontal strand
TUTORIAL
Increase from the transverse thread, slanted to the left
Increase from the horizontal strand – simple stitch increase for beginners
Today we'll be looking at increasing stitches from the horizontal strand. Especially for beginners, it's often a mystery how increasing stitches works in knitting. But increasing stitches is essential for numerous knitting projects. You'll learn how to easily increase stitches in our tutorial video . Our description, combined with the accompanying video, makes it easy for you to take the next step and effortlessly expand your knitting skills.
Preparation for the tutorial on left-slanted gain
You're no longer a complete beginner, having already learned and mastered the cast-on stitches, knit stitches, and purl stitches. Now you might be wondering what increasing stitches from the horizontal strand is all about and why this tutorial could be important for you. Increasing stitches is crucial for knitting projects, because whether you want to knit a chic triangular shawl, a jacket, or a sweater, you won't succeed without increasing stitches.
As always, you should have your circular knitting needles ready and choose a light-colored yarn. Later you will of course also work with dark yarns , but with light yarn you will be able to see the horizontal strand more easily and it will be easier for you to practice increasing from the horizontal strand.
If you have a practice swatch "parked" on the cable of your circular knitting needles, you can use it directly to practice the left-leaning increase from the horizontal strand. Simply slide your practice swatch from the cable to one of the needle tips, and you're ready to begin the tutorial. If not, then take your circular knitting needles and start casting on. Feel free to cast on a few extra stitches to get into the flow while practicing. To make practicing the increase from the horizontal strand easier, you should knit a few rows onto the cast-on stitches. We recommend alternating one row of knit stitches and one row of purl stitches. This will give you a stockinette stitch practice swatch.
This is how you easily knit your first increase from the horizontal thread.
For the left-leaning increase, hold your knitting needles as usual. The needle tips should face each other, and the cable should be in front of you, connecting the two needle tips. You should still use circular knitting needles with stainless steel tips, as this will make increasing stitches easier.
Hold the needle with the stitches of your practice piece in your left hand, while your right hand holds the empty tip of your circular knitting needle. Knit three stitches purlwise. Then pause and look closely at the space between the stitches on the right needle and the stitches on the left needle. You will see the horizontal strand. Now, slide the tip of the right needle under the horizontal strand so that you can transfer it to the needle tip in your left hand.
Now the horizontal strand rests like a stitch on the left needle. With the tip of your right needle, go behind the left needle and push the tip through the stitch from right to left. Then, with your right needle, pull the working strand through the stitch that was previously the horizontal strand. You have now knitted a left-leaning stitch from the horizontal strand. Now knit the next two stitches as usual and then pick up the horizontal strand again to repeat the process. The horizontal strand is knitted "right through the back loop." So now you have not only learned how to increase using the horizontal strand, but also the term "right through the back loop," which you as a knitter will certainly encounter again and again in knitting patterns.
With this tutorial, you've now significantly improved your knitting skills, and your status as a complete beginner is starting to fade. We recommend practicing casting on stitches thoroughly. You should only move on to the next tutorial once increasing from the horizontal strand is effortless for you. Since you're practicing with circular needles, you can practice increasing as much as you like, because the needle cable provides ample space for your swatch to grow in width without any problems.
With your new skills, you can already tackle some great beginner projects. You'll find suitable knitting kits for beginners in our shop, of course.